How to mount an ISO on the Steam Deck
Easily mount ISO files on your Steam Deck with this simple, step-by-step guide. Ideal for gaming, software installs, and accessing disk images on SteamOS.
The Steam Deck, Valve’s handheld gaming PC, has gained massive popularity for bringing the power of a desktop gaming rig into a portable form factor. Running on SteamOS, a Linux-based operating system, the Steam Deck offers great flexibility for gaming and productivity. However, this Linux foundation can also pose challenges for users unfamiliar with the OS—especially when trying to perform tasks like mounting ISO files.
Mounting an ISO on Windows is typically a one-click process, but on the Steam Deck, it can require a few extra steps. SteamOS doesn’t come with ISO mounting tools pre-installed in Gaming Mode, and even in Desktop Mode, users may need to install additional utilities or use command-line tools like mount, fuseiso, or graphical tools like GNOME Disks or KDE’s Dolphin file manager. For newcomers to Linux, this process can feel intimidating.
Understanding these limitations is key to getting the most out of your device. Whether you’re trying to install legacy software, run a virtual machine, or access game files stored in ISO format, knowing how to properly mount an ISO on the Steam Deck opens up new possibilities—and this guide will walk you through it step by step.
Getting Started with ISO on Steam Deck
To mount ISO files on your Steam Deck, you don’t need much—just a little time to get things set up. But it’s a good idea to check that your internet is working fine and that you have enough free space for the files.
✅ Internet Connection: First off, you’ll need a stable internet connection. This will help you download any programs or tools needed for the setup.
✅ ISO File: You can create your own ISO files from CDs or DVDs using software like ImgBurn. Also, some software, like Linux distributions, comes in ISO format, and that’s what we’re using in this tutorial.
✅ Free Space: Make sure your Steam Deck has enough space to store the ISO file and at least that much extra space for mounting it.
How to mount an ISO file on Steam Deck
Jump into Desktop Mode to Kick Things Off 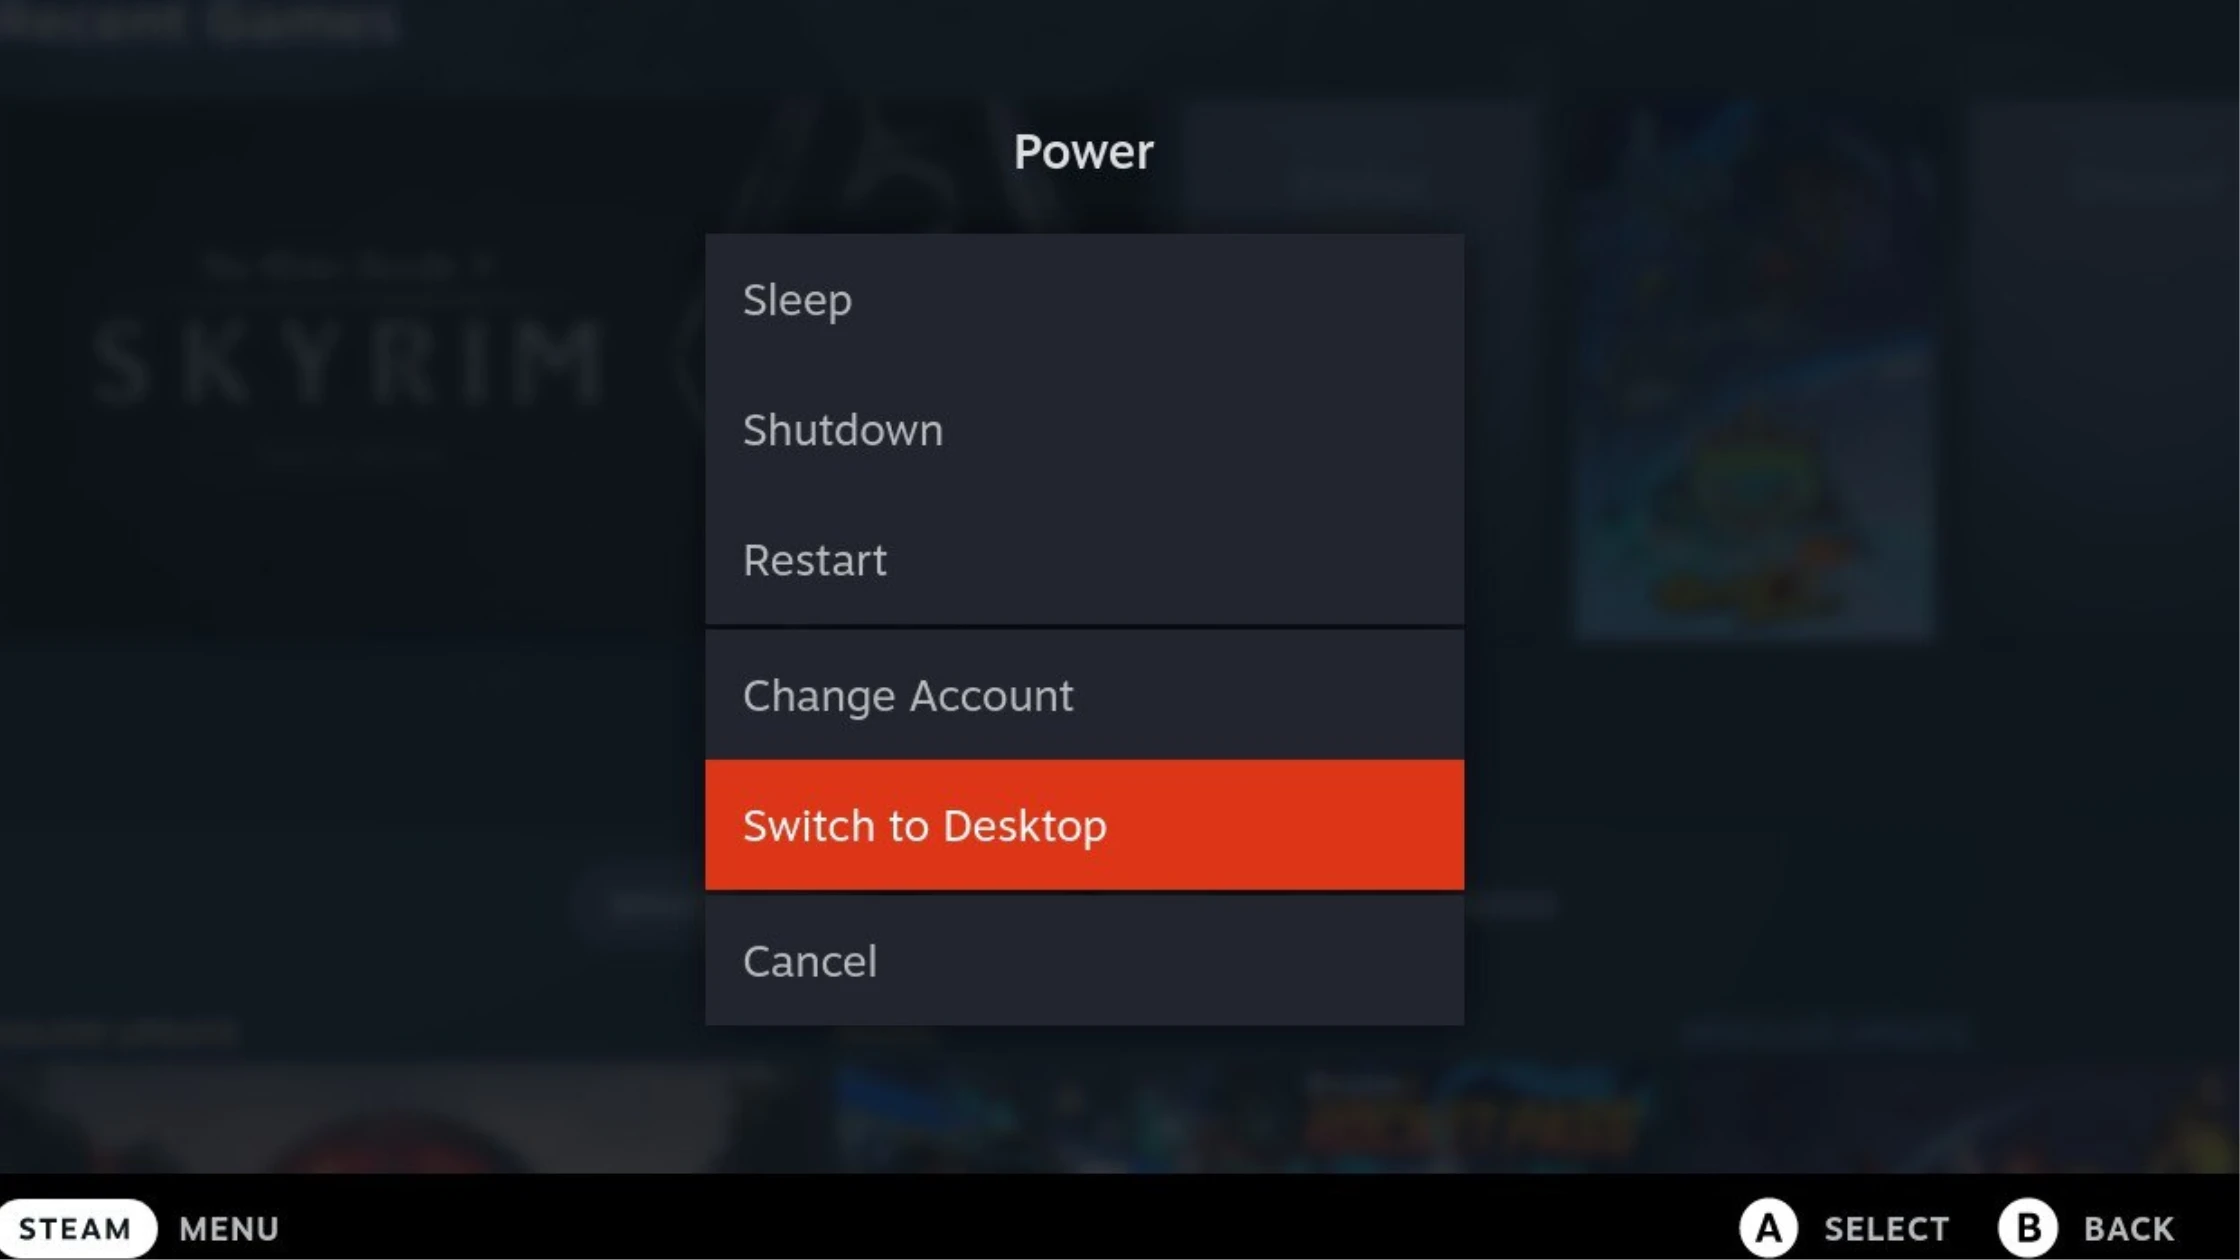
- Press and hold the power button until the menu shows up, then choose ‘Switch to Desktop’.
Or, just press the Steam button to open the menu, scroll down to Power, and select it.
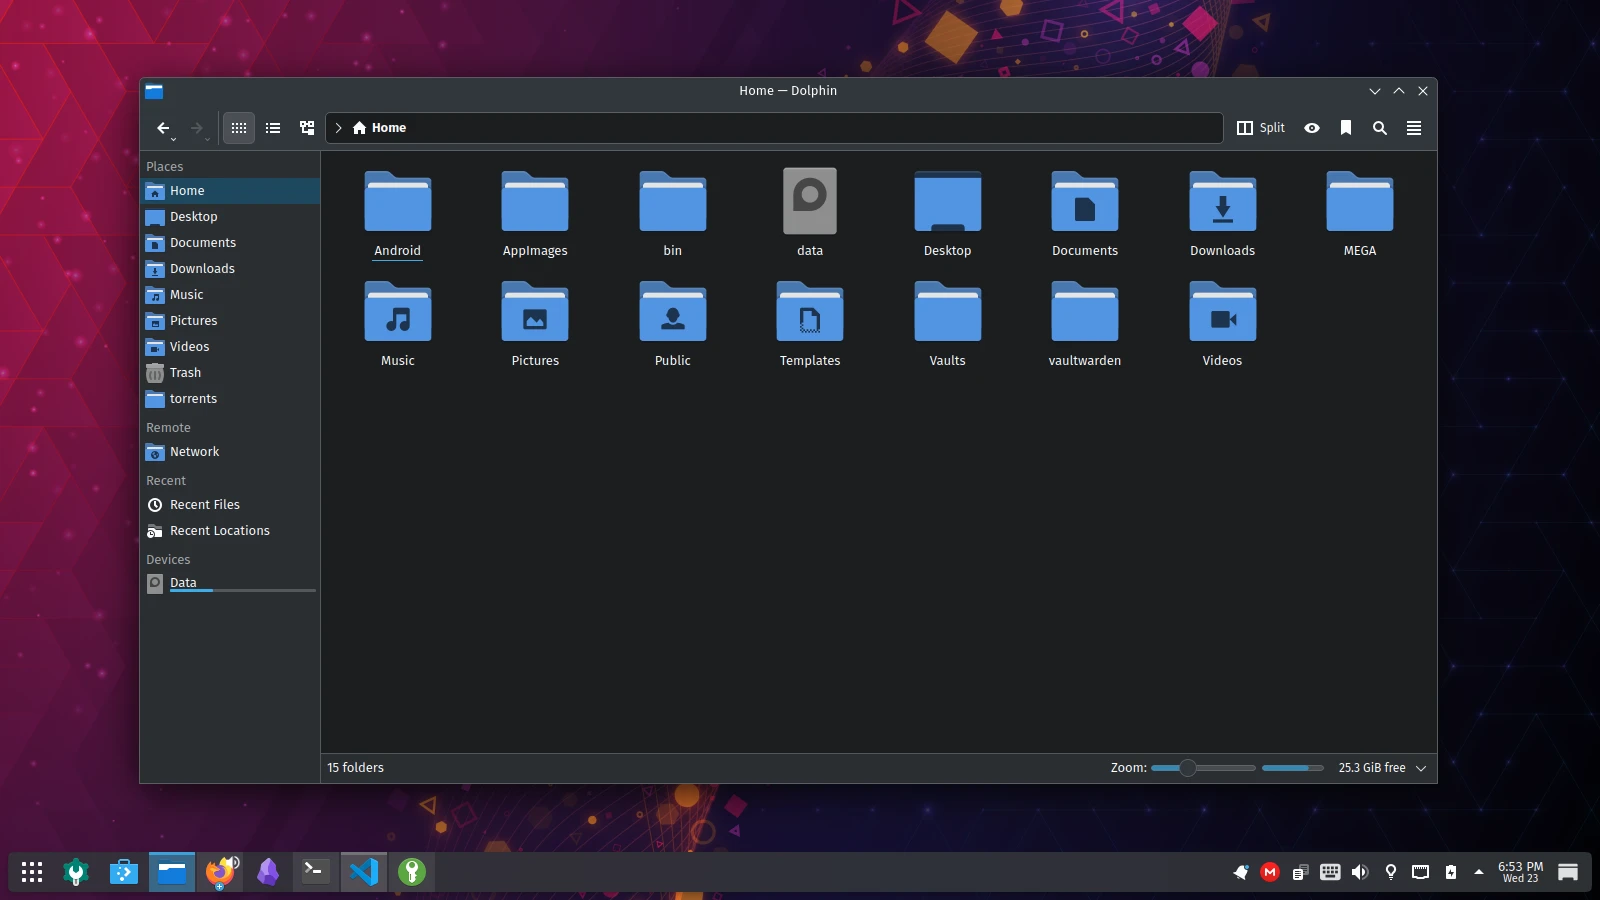
Open the Dolphin app.
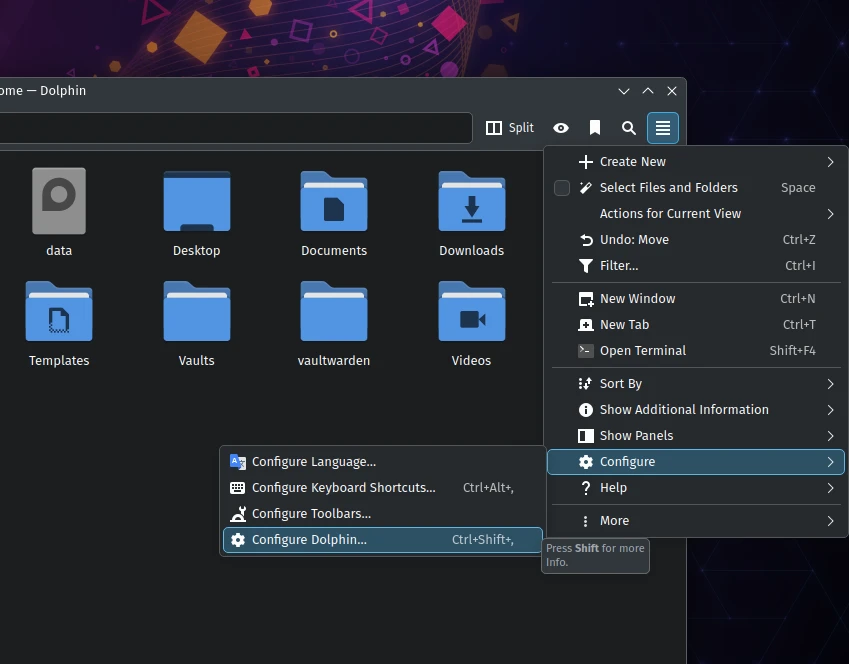
From the 3 dot hamburger icon go to Configure -> Configure Dolphin….
From the Configure go to Context Menu -> Download New Services…
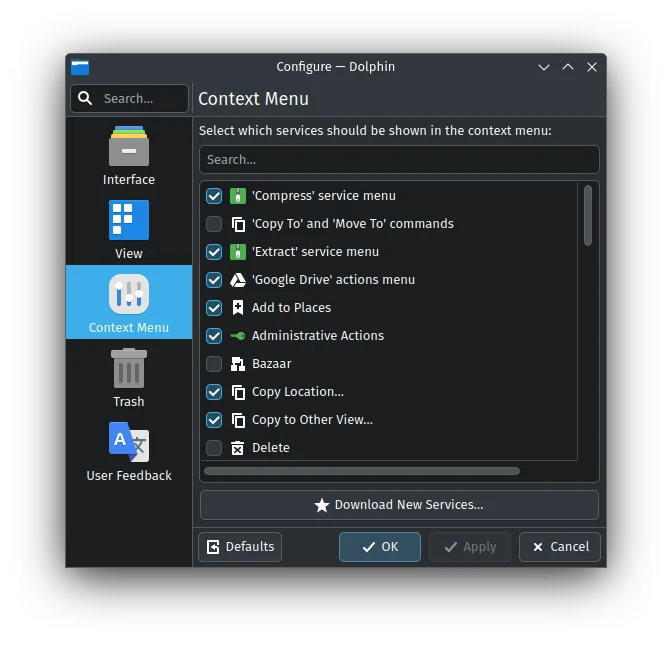
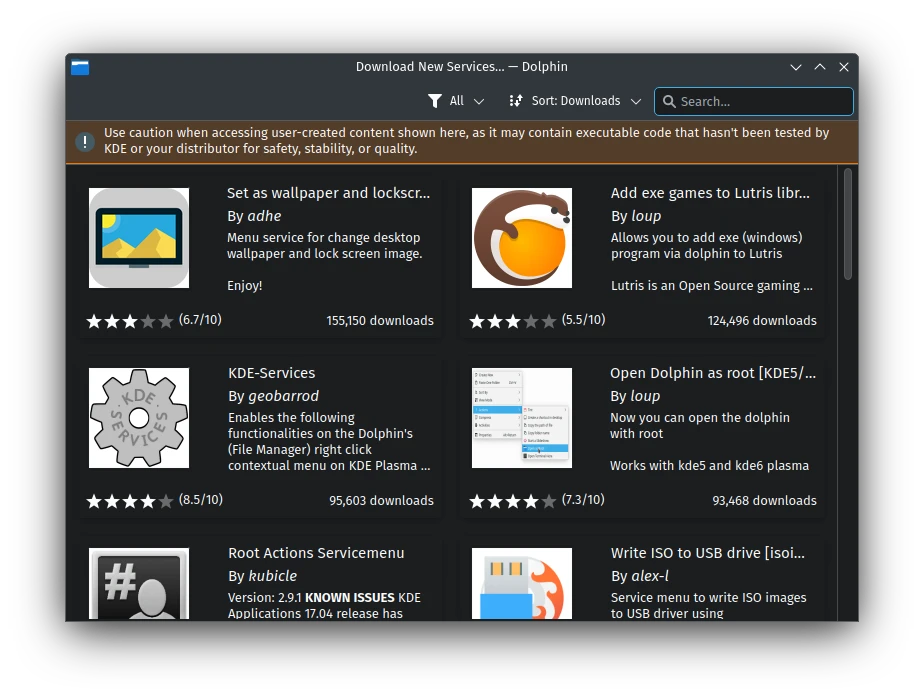
When you click Download New Services… a new window will pop up. It’s a store for Dolphin Services.
Search for Mount Unmount ISO by tazihad.
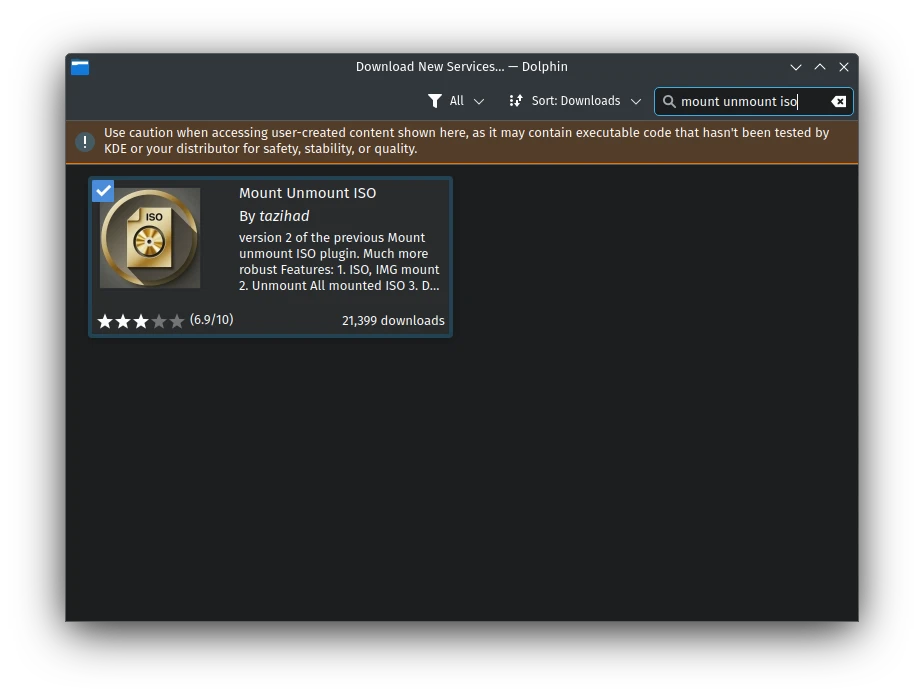
Install the Plugin.
Close and re open Dolphin File Manager.
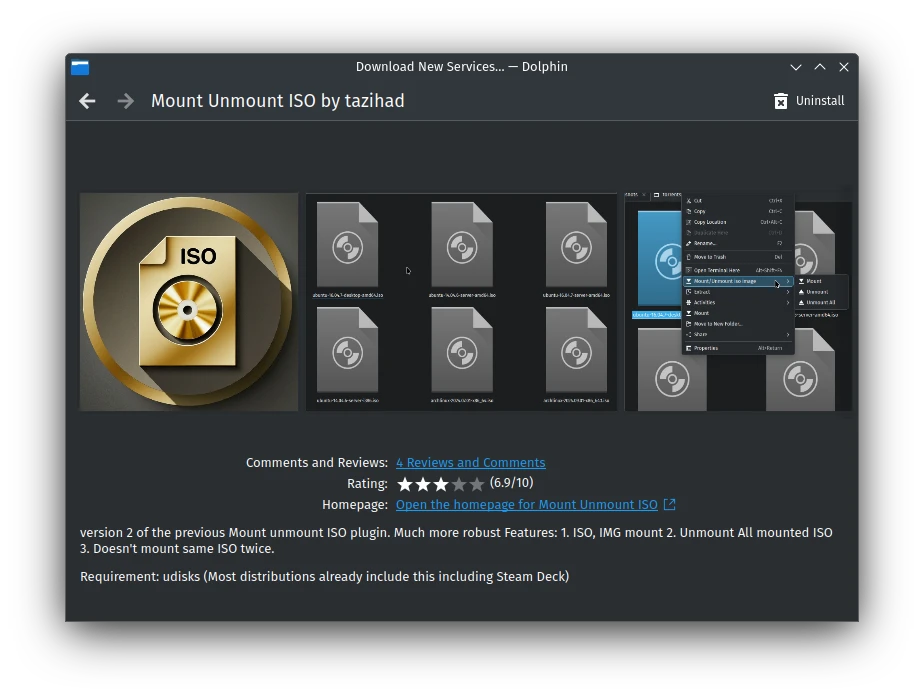
- Now Right click on any ISO or IMG file. You will see Mount, Unmount, Unmout All options.
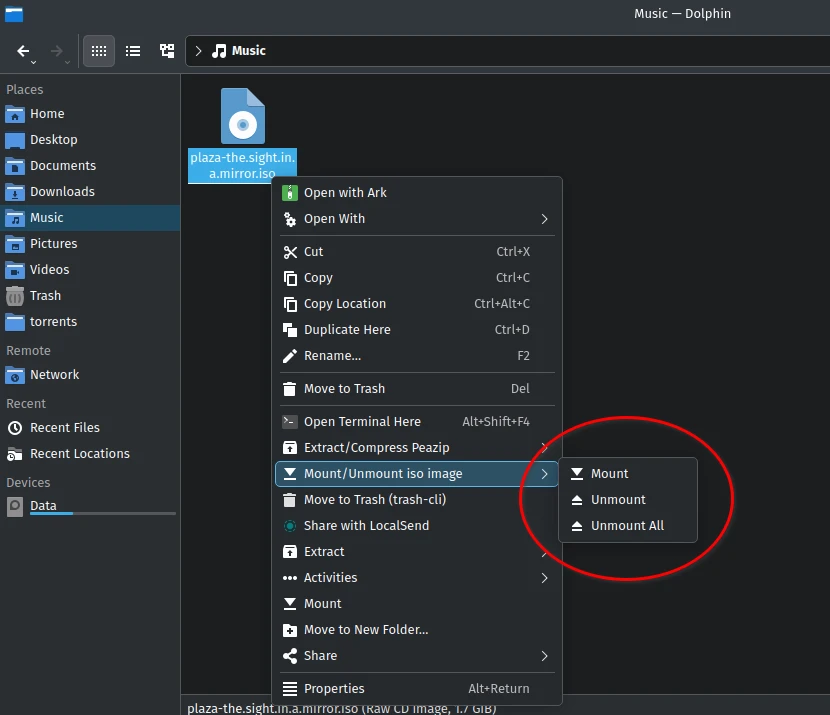 Mount: Mounts the ISO file on
 /run/media/$USERlocation.
Unmout: Unmount the ISO.
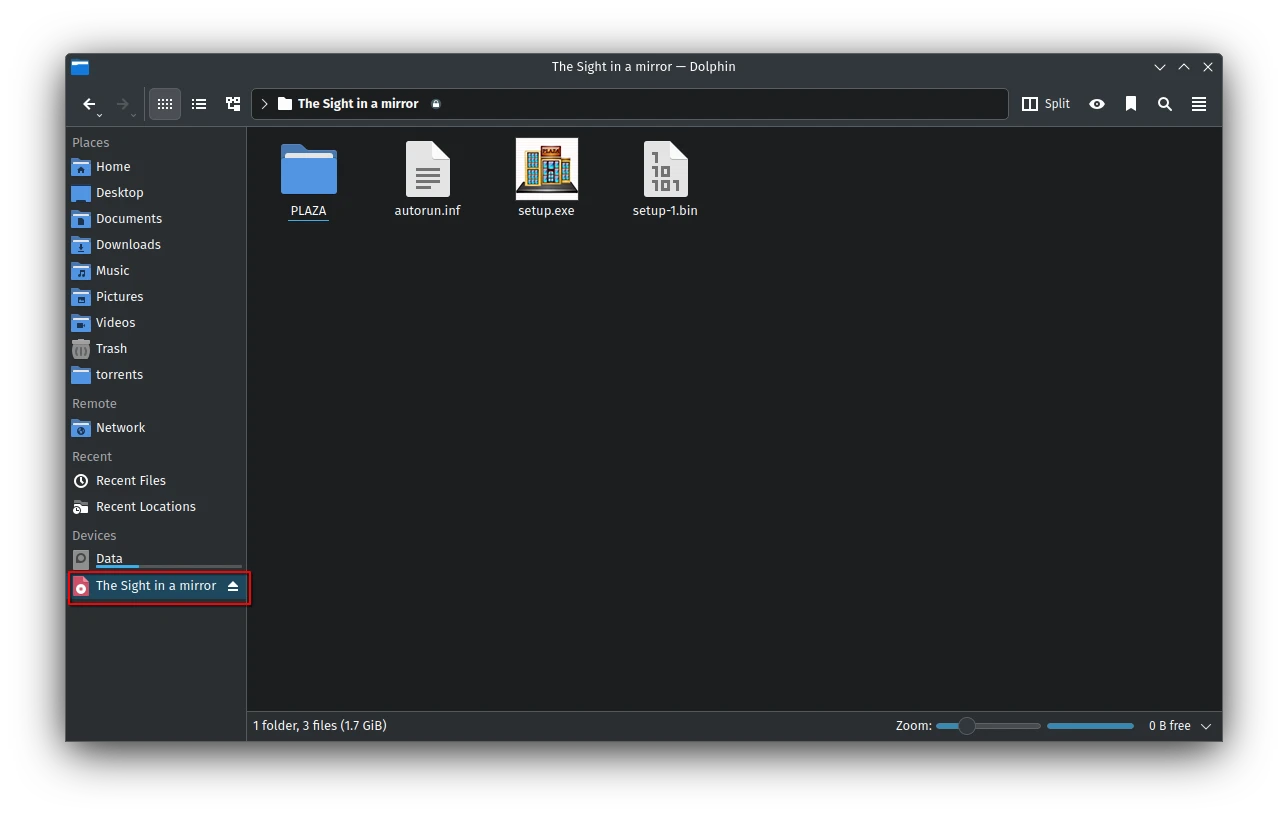
Unmount All: Unmounts all mounted ISO from system.Somtimes mount don’t appear on Dolphin unless close and reopen dolphin again. It’s a well known dolphin bug. If it doesn’t appear from dolphin go to
/run/media/$USERlocation you will see the mounted folder. - You can find the mounted iso on left side under Devices in Dolphin File Manager. And you can browse through it just like any other folder on your Steam Deck.
Now enjoy playing games straight from ISO files on your Steam Deck—easy and smooth!
Now that you know how to mount ISO files on your Steam Deck, it opens up a world of possibilities! You can make ISO backups of your own CD/DVD games, move them to your Steam Deck, and play classic titles that aren’t even on Steam anymore. Or, if you’re into retro gaming, you can use emulators to play disc-based console games like PS2 or Xbox—right from your Deck. It’s a great way to save your original discs from wear and tear, plus you get to enjoy your favorite games anywhere, anytime.