Zorin OS 17 Post-Install Guide: The First 10 Steps for a Clean Setup
Just installed Zorin OS 17 Core or Pro? Follow this step-by-step post-install guide to configure software mirrors, install media codecs, configure Windows App Support, set up graphics drivers, and optimize your desktop.
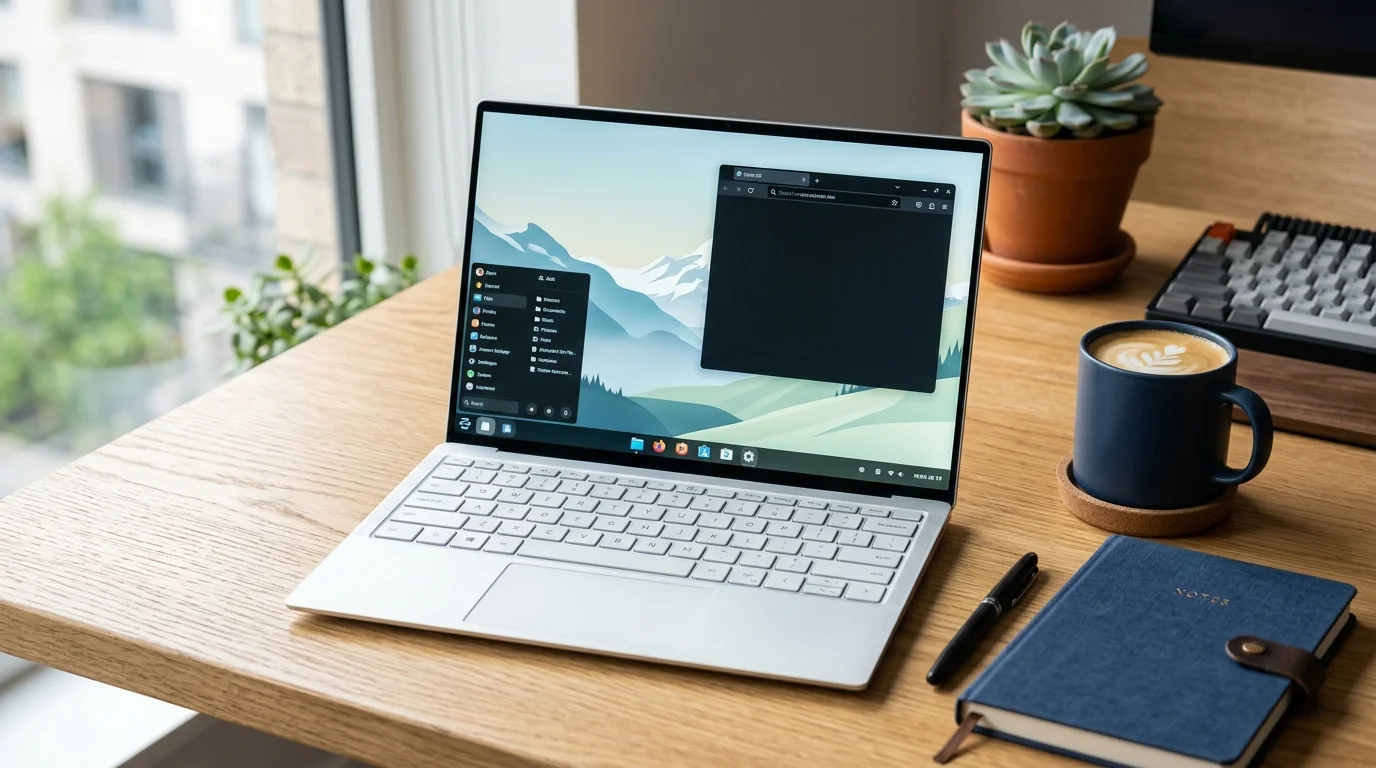
Zorin OS 17 provides one of the smoothest onboarding experiences for users switching from Windows or macOS to Linux. Based on an Ubuntu LTS core and featuring a customized GNOME desktop with spatial desktop effects, it is clean, modern, and very stable.
However, right after installation, there are a few important steps to take to ensure optimal package download speeds, hardware acceleration, and seamless application support.
1. Select the Fastest Download Mirror
Zorin OS defaults to the main Ubuntu servers, which can be slow depending on your geographic region.
- Open the application menu and search for Software & Updates.
- On the Zorin Software tab, click the Download from dropdown and select Other….
- Click Select Best Server to run a mirror latency test.
- Once the fastest server is highlighted, click Choose Server.
- Click Close and allow the system to reload the package cache.
2. Perform a Full System Update
Refresh package sources and pull in the latest security and kernel updates:
1
2

sudo apt update && sudo apt upgrade -y
flatpak update -y
If a kernel update was installed, reboot the computer:
1

sudo reboot
3. Install Multimedia Codecs and Microsoft Fonts
To ensure seamless playback of video formats (H.264, MP4, MKV) and proper rendering of Microsoft document fonts:
1

sudo apt install -y ubuntu-restricted-extras
During installation, navigate the EULA prompt using the Tab key and press Enter to accept the font license.
4. Install Proprietary Drivers (NVIDIA & Wi-Fi)
If you are using an NVIDIA GPU or proprietary Wi-Fi card (Broadcom/Realtek):
- Open the application menu and launch Additional Drivers.
- Allow the utility to detect connected hardware.
- Select the recommended proprietary, tested NVIDIA driver branch.
- Click Apply Changes, wait for the driver modules to build, and reboot your system.
Verify your NVIDIA GPU is active:
1

nvidia-smi
5. Enable Windows App Support and Install Bottles
Zorin OS includes a built-in compatibility layer called Windows App Support that allows you to double-click .exe and .msi installers.
To enable it:
- Open the application menu.
- Go to System Tools > Windows App Support.
- Follow the wizard to install the necessary Wine compatibility packages.
For more complex Windows software, games, and dependency management (such as specific .NET versions or DirectX libraries), install Bottles:
1

flatpak install flathub com.usebottles.bottles -y
6. Enable the UFW Firewall
The firewall is installed by default on Zorin OS but disabled initially. Turn it on:
1
2
3

sudo ufw default deny incoming
sudo ufw default allow outgoing
sudo ufw enable
Check status:
1

sudo ufw status verbose
7. Customize Desktop Layout with Zorin Appearance
Zorin OS’s defining feature is Zorin Appearance, which lets you switch UI layouts to match your preferred workflow:
- Open Zorin Appearance from the main menu.
- Under Layout, choose between Windows classic, Windows 11 style, macOS style, or GNOME style (additional layouts available in Pro).
- Under Theme, you can set accent colors or enable automatic dark mode scheduling based on sunrise/sunset.
- Under Effects, toggle Jelly Mode or Spatial Desktop for 3D workspace transitions.
8. Manage Flatpak Permissions with Flatseal
Zorin OS integrates Flathub alongside native APT packages. Install Flatseal to manage sandbox file access, audio sockets, and permissions for your Flatpak apps:
1

flatpak install flathub com.github.tchx84.Flatseal -y
9. Improve Laptop Battery Life
For laptop users, install tlp or configure power-profiles-daemon:
1
2

sudo apt install -y tlp tlp-rdw
sudo systemctl enable --now tlp
You can verify battery and power status at any time:
1

sudo tlp-stat -s
10. Clean Up Unused Packages and Logs
Limit journal logging to conserve SSD space and purge residual packages:
1
2
3
4
5
6
7
8

# Cap system logs to 100MB
sudo journalctl --vacuum-size=100M
sudo sed -i 's/#SystemMaxUse=/SystemMaxUse=100M/' /etc/systemd/journald.conf
sudo systemctl restart systemd-journald

# Remove obsolete dependencies and clean APT cache
sudo apt autoremove --purge -y
sudo apt clean
Install everyday terminal utilities:
1

sudo apt install -y curl wget git htop fastfetch micro